
به زودی ان شا الله ترجمه میشه اگه نشد
 دیگه نشده دیگه
  همگی استادین دیگه


Making the Lights
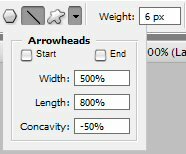
Open a new document 300x300 pixel.Fill it with white. Set the foreground to white. Now from the Layerpanel choose Channels. Make a new channel. Select your Line Tool andmake these settings.
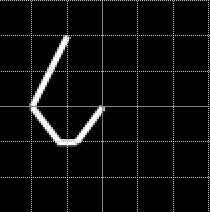
Now go to View > Show > Grid. Now start drawing. After you made the stroke, fill it up with white.
Go to Filters > Gaussian Blur and enter size 4.5 or 4. Now go to Image > Adjustments > Levels. 80/1.25/125.
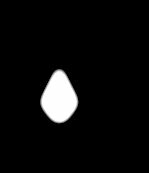
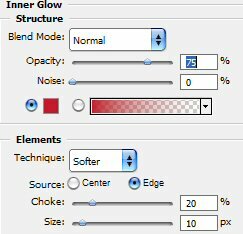
Nowturn back to the Layers and make a new one. Select > Load Selection.Pick Alpha 1 and ok. Fill the selection with red (#e61e35). Go to LayerStyle > Inner Glow.
Now take your line tool again. Set the size to 3 px and make a little line.

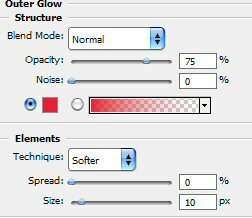
Go to Layer Style > Outer Glow.
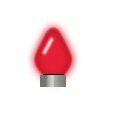
Add some rectangular at the bottom and the final product should be this.
Step 2 The Animated Part
Nowduplicate the layer so that you have other lights. Go change theircolor go to Image > Adjustments > Hue/Saturation. Play there andyou will find other colors. Then adjust the outer and inner glow andthere you are.
On your right Panel, at the bottom, you have a button that will sendthe picture to ImageReady. Hit it. Before you hit it, make sure youhave selected the layer with the first light. Now you are in ImageReady.
In the Animation Panel you have the first frame. Set the Delay to 1 sec.

Now make a new frame from the little arrow you have in the right upcorner of the animation panel. Now you have a selection around thesecond light. Enable the outer glow of this one and disable the outerglow of the others. Do the same thing with the third light.

Now go to File > Save Optimized As…
The final result is this.
